Valorant is a playground for many types of players. While some rely on their raw mechanical skills, others prefer to avoid direct fights and play mindfully. Meanwhile, Sova Valorant is the best agent to use.
Lots Agents with the ability to deploy their utilities remotely gave birth to the lineup concept in Valorant. The first name that comes to mind is Sova Valorant, an Initiator and one of the oldest Agents released alongside the game.
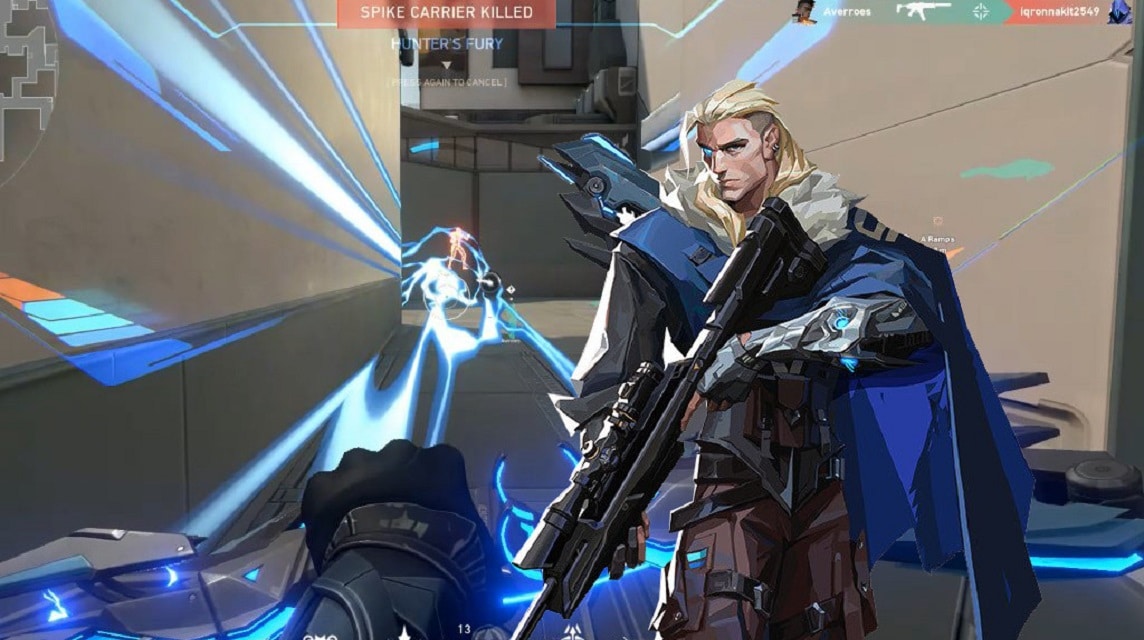
The Sova Valorant kit includes Owl Drone, Shock Bolt, Recon Bolt, and Hunter's Fury (Ultimate ability). This allows users to safely inspect and clear map areas from a safe distance. It's important to note that the following sequences were performed at low graphics settings.
Pearl's Sova Valorant Guide
This article looks at some of the multiple Shock Bolt lineups that can prove fatal to enemy teams from a distance in Valorant's Pearl.
The factory defaults A-Main to A-Site
You need to find the corner above on A-main and tuck yourself into it. You need to align the top right corner of the charging bar (marked with a circle). The player must fill one bar (marked with a rectangle) and release the left click to use the first Stun Bolt.
You have to align their crosshairs (marked with circles) as shown. Then with one bounce (one right click) and one charge bar (marked with a rectangle), they need to attach the Shock Bolt.
Launching both Shock Bolts back-to-back lands him directly on the Default Factory A-Site simultaneously, making this a handy post-factory lineup that can secure a round.
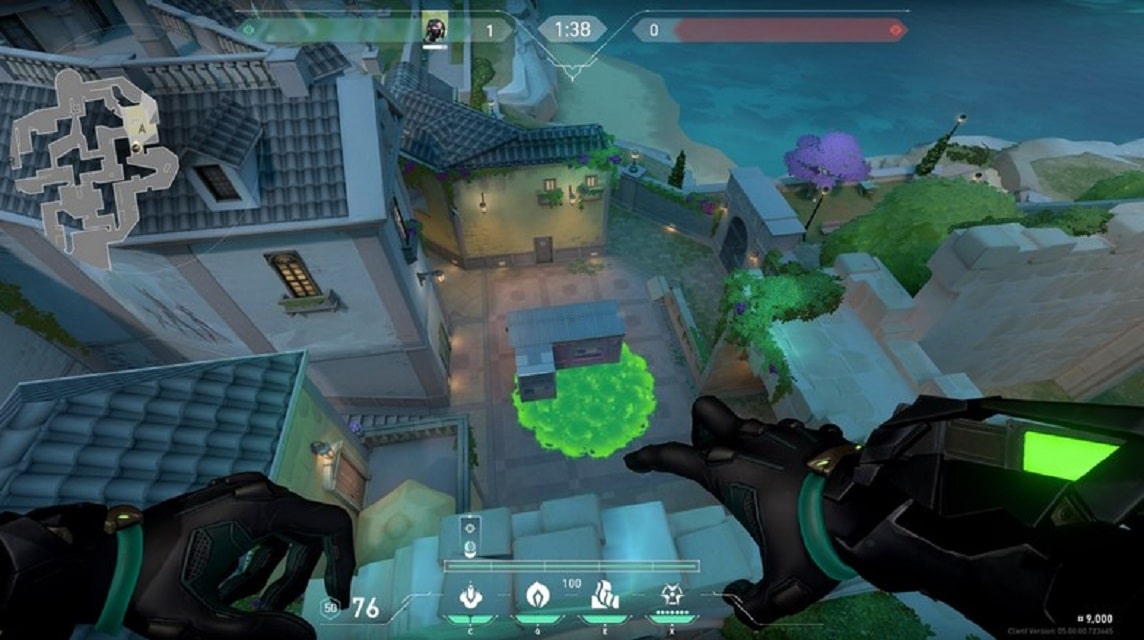
Central Connector to A-Site Default Factory
For this lineup, gamers need to position themselves in front of the corner shown in the Mid Connector near the A-Art. They should tuck themselves in a corner.
The user must align the Owl Drone icon (indicated by a circle) near the edge of the wall in the Middle Connector. The Shock Bolt must be used with a single bar load (indicated by the rectangle).
Gamers should align the lower left corner of the charge bar on the roof's third ledge (indicated by a circle) and deploy a Shock Bolt with a half bar charge.
Casting both Shock Bolts in quick succession will result in both of them landing directly on the Default Factory A-Site, defeating all enemies in that area.
Outside the B-Tunnel to the B-Site Default Factory
For this lineup, players must position themselves directly in front of the wall boundary indicated on the wall.
The user should align the left corner of the line under the HP count at the marked spot where the roofing meets the tree (indicated by the circle) and install the first Shock Bolt with one bar load (indicated by the rectangle).
Gamers should align the left diamond under the charge bar on the roof ledge (indicated by a circle) and use the second Shock Bolt with a simple left click.
Casting both Shock Bolts in quick succession will result in them landing directly in the B-Site Default Factory area. This can be used to prevent attackers from planting spikes or playing post-plant as Attackers from the Defender Spawn Side.

Also read: VCT 2022 Valorant Champions Schedule, Don't Miss It!
B-Ramp Box Factory to Double Radianite B-Site
Players must position themselves on the B-Ramp for this lineup. After moving to the B-Ramp, the user must tuck the inside of the corner and align the edges of the B-Pillar and the wall in front, as shown above.
Gamers must align the HP counter just above the ledge in the left corner of the wall (indicated by the circle) and release the Shock Bolt with a two stick charge (indicated by the rectangle).
For the second Shock Bolt, the reader must aim their crosshair at the edge of the floor where the short wall ends (indicated by a circle) and release it with a double bounce (two right clicks) and a full charge.
Also read: New Valorant Skin, Kohaku Bundle & Matsuba!
You need to delay the second Shock Bolt one second after deploying the first to ensure both Shock Bolts land near the Double Radianite B-Site box at the same time.
Valorant Product Recommendations