Keo Ruug Shrine is one of the temples in the game The Legend of Zelda: Breath of the Wild for console Nintendo Switch and Wii U.
After completing the puzzle in this temple, you will get a treasure chest with the Knight's claymore and Spirit Orb items as prizes.
For those of you who are looking guide To complete the puzzle at Keo Ruug Shrine, let's follow the complete review in the article below!
Also read: How to Beat Calamity Ganon in Zelda: Breath of the Wild
Location of Keo Ruug Shrine
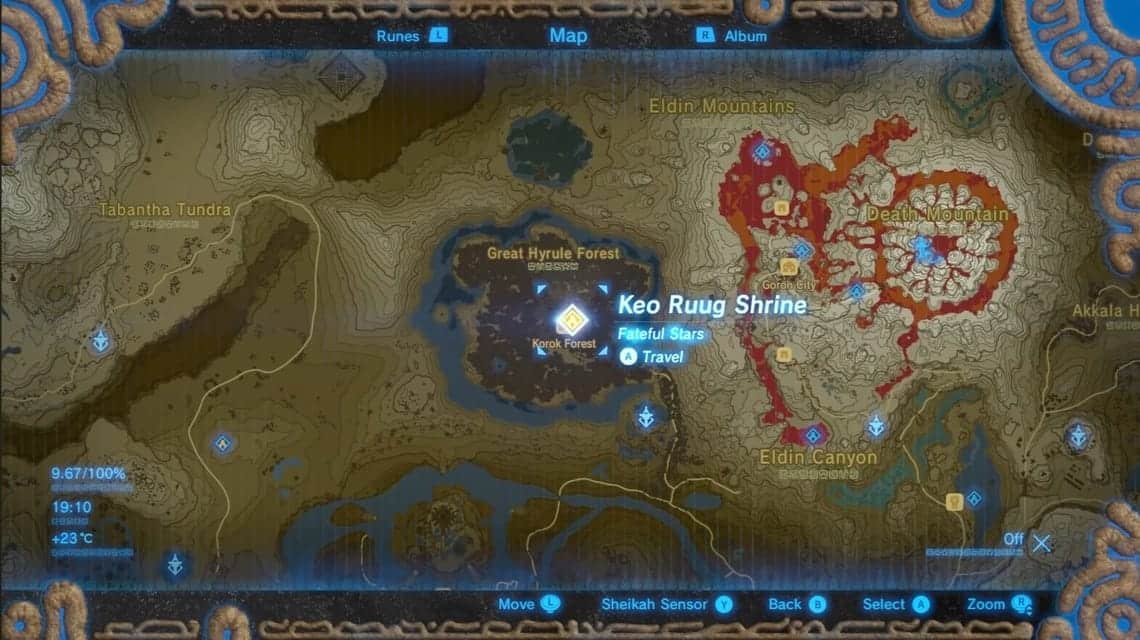
Keo Ruug Shrine is located in Korok Forest in the Woodland Region. You can find this temple at the foot of the Great Deku Tree. To reach this temple, you have to pass through Lost Woods.
Lost Woods itself is located in the Great Hyrule Forest area, a place that provides access to five shrines, the Great Deku Tree, the Master Sword and Hestu which can expand your storage.
To reach the Lost Woods entrance, go north from Kakariko Village to Lanayru Wetlands by paragliding.
Next, follow the road that heads northwest towards the Great Hyrule Forest area. You will pass the Mirro Shaz Shrine, Woodland Stable and Woodland Tower before arriving at this entrance.
Also read: Gerudo Canyon Skyview Tower guide in Zelda: Tears of Kingdom
Guide to Completing Puzzles at Keo Ruug Shrine

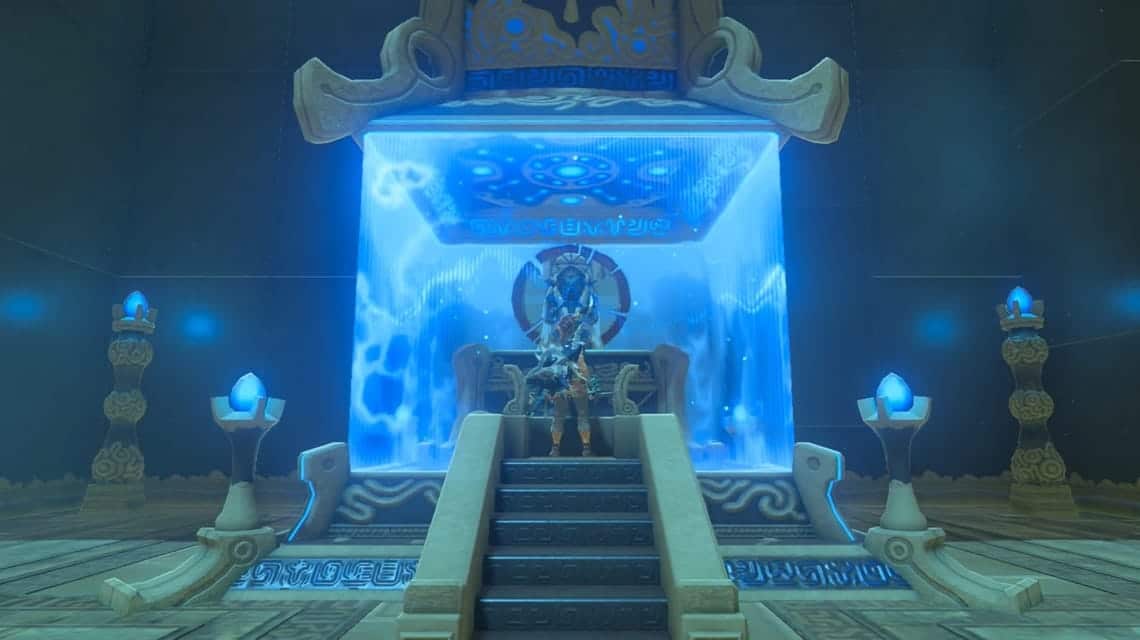
When you arrive at Keo Ruug Shrine, you will see a large number of ball containers on both sides of the room. There is a writing that will welcome you under the stairs.
The text is "To you who sets foot in this shrine… I am Keo Ruug. In the name of the Goddess Hylia, I offer this trial.”
If you look straight up in front of the inscription, there are constellations on the wall that match the ones on the right and left in front of the pillars with ball containers.

For example, the constellation on the far left appears 5 times on the wall, then the ball in front of that constellation must be placed in the container in the front row with five torches.
- The first ball is placed in a container that has five torches
- The second ball is placed in a container with three torches
- The third ball is placed in a container that has one torch
- The fourth and final ball is placed in a container with two torches
Once you place all the balls in the correct order, a gate leading to the Monk will open.
When you return, you will have to place the balls again in the following order:

- The first ball is placed in a container with four torches
- The second ball is placed in a container with two torches
- The third ball is also placed in a container with two torches
- The fourth ball is placed in the container with one torch
When you have placed the balls in the correct order, a gate leading to a treasure chest containing the Knight's Claymore item will open. Take the item and go to where the Monk is.
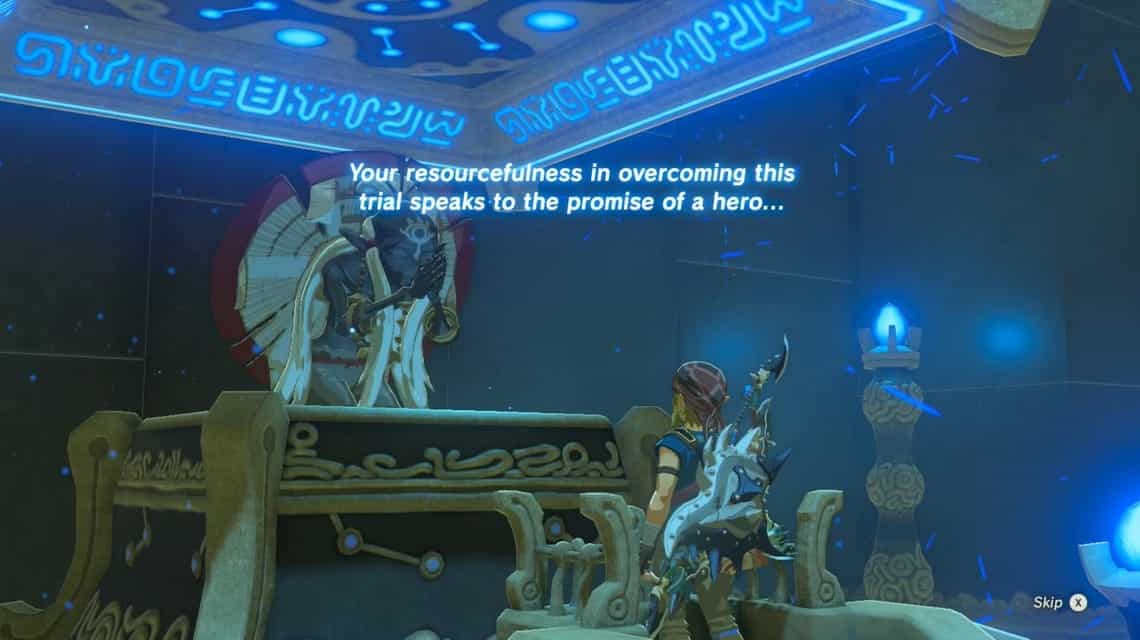
When you interact with the Monk, a cutscene will play where you will get a Spirit Orb from him.
Also read: Gerudo Canyon Skyview Tower guide in Zelda: Tears of Kingdom
For those of you who are looking for a safe, cheap and reliable place to top up games, come visit VCGamers Marketplace right now!
MLBB Product Recommendations