Resetting the Oculus Quest 2 to factory settings can be done in two ways, namely using a cellphone and without a cellphone or just using the headset device.
Resetting it yourself can help you overcome performance and connectivity problems as well as software glitches.
However, technical knowledge is required to perform the reset correctly and avoid data loss.
And in this article we will give you a way to reset Oculus Quest 2 without a cellphone.
So, for those of you who are curious about how to do it, let's look at the following explanation!
Also read: How to Connect Oculus Quest 2 to PC
Understanding the Oculus Quest 2 Factory Reset Process
Understanding the concept of the factory reset process is very important before actually doing it.
Because, basically factory resetting is a function that exists on every digital device, from smartphones, PCs, to the Oculus Quest 2.
Factory reset intends to restore the device to its original factory settings by erasing all information.
This will return the device to its original configuration and restore the firmware.
Factory reset is an easy way to solve problems you may encounter when using digital devices.
Because resetting will fix performance problems, connectivity problems, and unwanted system changes.
So it helps you to ensure a smooth user experience.
Also read: How to Connect Oculus Quest 2 to Steam
Preparing to Factory Reset
Before you factory reset your Oculus Quest 2, there are a few things you should prepare.
Like you have to back up your data because the factory reset process causes all data to be deleted from the device.
And unfortunately the Oculus Quest 2 doesn't have an internal backup system so unsaved game progress will be lost.
Therefore, you can follow these steps:
- Put on the headset and open Quick settings
- Then select Settings
- Click System, then select Backup
- Then click Cloud backup to activate it, and you're done
Also read: 10 Best Free Oculus Games 2024
Factory Resetting Oculus Quest 2 Via Headset or without HP

Factory resetting an Oculus Quest 2 requires three simple steps, starting from turning off the headset, accessing the boot screen, and resetting.
Here is a guide to do so:
Turn off Headset
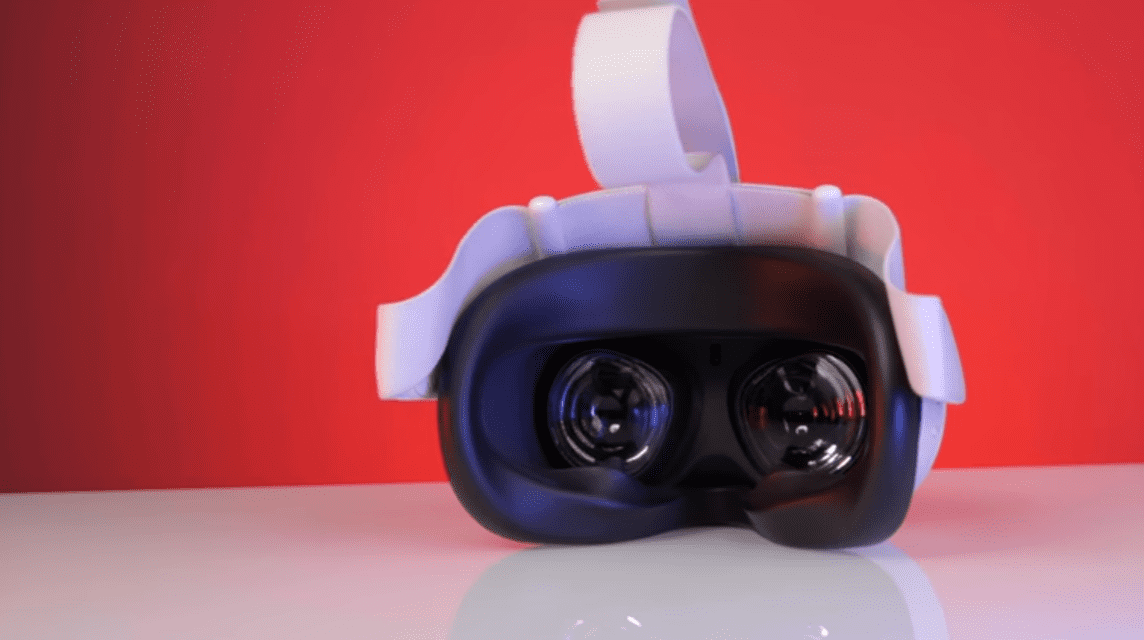
The first step in the Oculus Quest 2 factory reset process is to turn off the headset.
Click and release the power button on the side of the headset. If it doesn't turn off, press and hold the power button for 10 seconds, and you're done.
Accessing the Boot Screen
After you have successfully turned off the headset, the next step is to access the boot screen.
Click and hold the power and volume down buttons simultaneously until the boot screen appears.
On this screen, you will find the “Factory reset” option, which is required to continue the process.

Perform a Factory Reset
Once the boot screen is ready, use the volume buttons to navigate to the “Factory reset” option. Once you highlight “Factory reset,” click the power button to select it and click again to confirm.
Finished! Your headset will go through a factory reset process, which will erase all stored data and return it to its original factory settings.
Also read: Best Oculus Quest 2 Games in 2024
So, that's how to reset Oculus Quest 2 without a cellphone. Hopefully this article is useful for those of you who are looking for this information.
Don't forget to stay up to date with the latest information about games, technology and gadgets, only at VCGamers News!
Come on, top up your favorite games easily, quickly, safely, and at the lowest prices only at VCGamers Marketplace!
MLBB Product Recommendations